 The pumpkin theme is definitely my favorite for fall, in the classroom. There are numerous sensory activities that can be incorporated, which provide such fun and excitement! After providing real pumpkins for hands on exploration, I give the students many opportunities to paint with fall colors and different types of materials. One of the most adorable crafts has to be these pumpkins painted using soda bottle caps. It's easy, fun, and fairly quick! I definitely turn to this one every year!
Total Time: 15 minutes to paint and a couple hours to dry
Yield: 1 pumpkin patch and 2 individual pumpkin cards
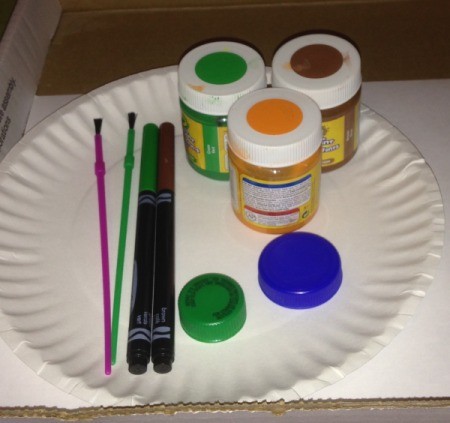
Supplies:
- 1.5 sheets of white construction paper
- finger paint (orange, brown, green)
- markers - optional (brown, green)
- 2 fine paint brushes
- scissors- optional
- 1 paper plate
- 1 soda bottle cap
- 1 milk jug cap
Steps:
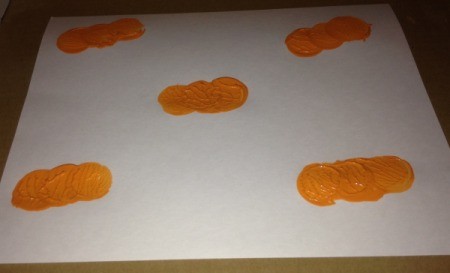
- Pour the orange paint into a paper plate. Dip the soda cap into the paint.
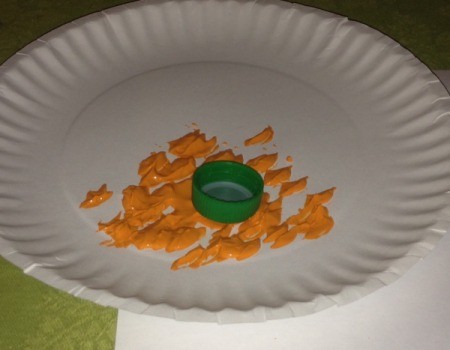
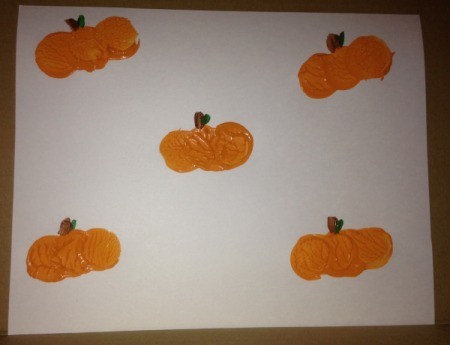
- Stamp the soda cap down, anywhere on the full sheet of paper. Stamp it two more times, overlapping the previous stamp by half each time. I found that the stamped pumpkins resembled real ones more when I went from left to right.
- Continue adding pumpkins until you feel you have enough.

- Take the paintbrushes or markers and add the stems and leaves to each pumpkin.

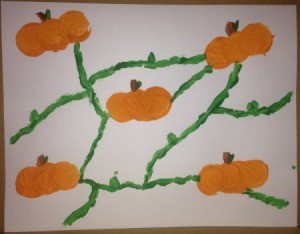
- You can also paint or draw green vines throughout the patch, like in the main photo.
- If you want to have larger pumpkins, use a milk jug lid like I did for these two. You can cut your half sheet down into individual cards that you can use for decoration or even treat bag gift tags!

Add your voice! Click below to comment. ThriftyFun is powered by your wisdom!

attosa
Diamond Post Medal for All Time! 1,246 Posts October 9, 20180 found this helpful
Cuuuute, Tiffany!

November 2, 20180 found this helpful
Thanks! :)
Add your voice! Click below to comment. ThriftyFun is powered by your wisdom!

 The pumpkin theme is definitely my favorite for fall, in the classroom. There are numerous sensory activities that can be incorporated, which provide such fun and excitement! After providing real pumpkins for hands on exploration, I give the students many opportunities to paint with fall colors and different types of materials. One of the most adorable crafts has to be these pumpkins painted using soda bottle caps. It's easy, fun, and fairly quick! I definitely turn to this one every year!

