15mhhm15
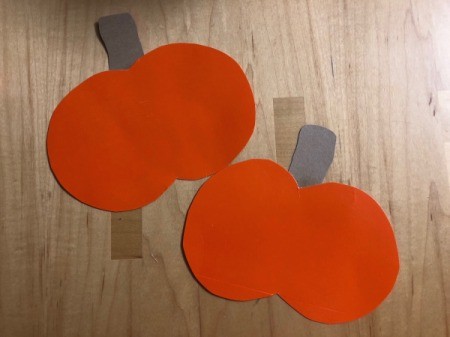
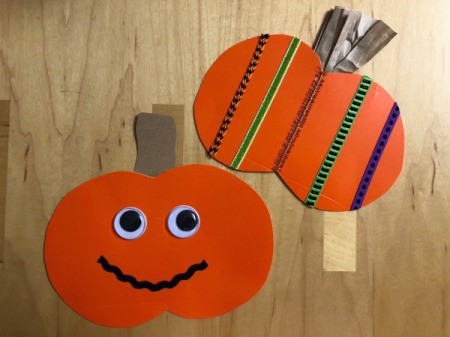
Diamond Post Medal for All Time! 1,298 Posts  I order printed photos from Shutterfly and I always keep the packaging because it's really sturdy. I'm glad I did because I was able to make a couple of pumpkins from the packaging!
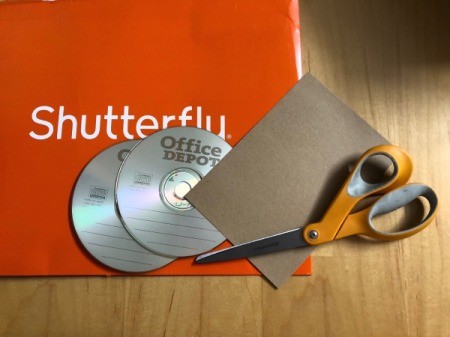
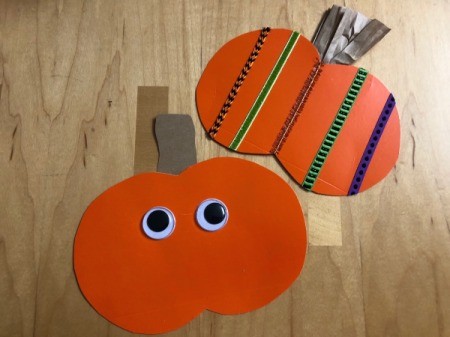
Here are two of the pumpkins I made and I will make more next month for the kiddos to decorate (this is a mess free way of decorating, they can use stickers or paint).
Total Time: 15-20 minutes
Supplies:
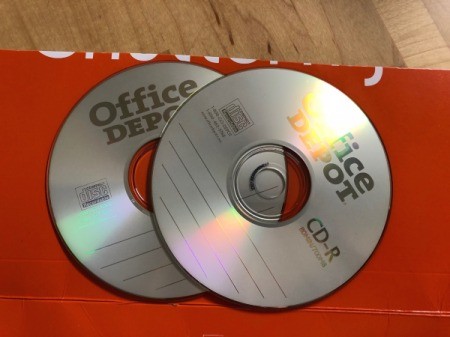
- 2 CDs
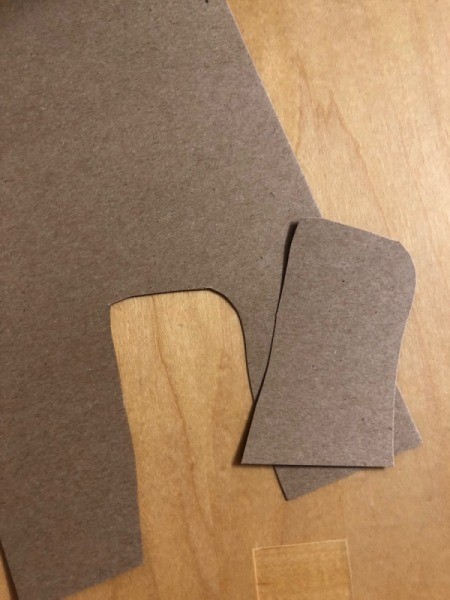
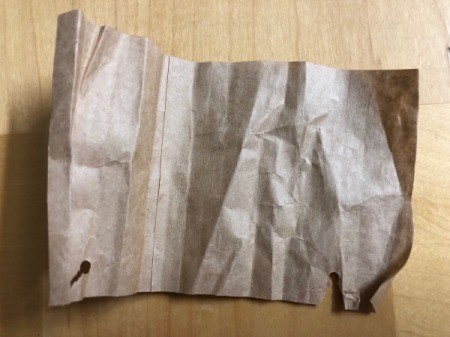
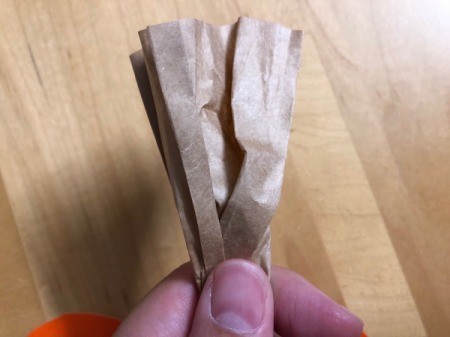
- brown paper bag
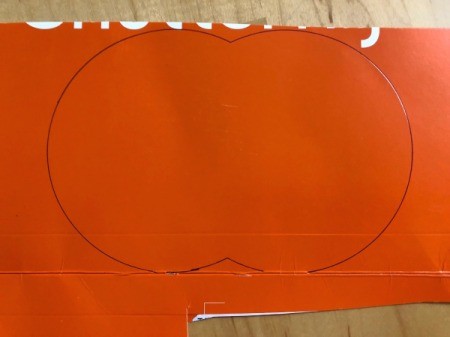
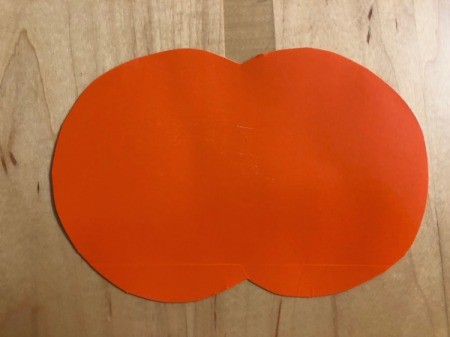
- orange paper
- pen/pencil
- scissors
- your choice of decorations
Steps:
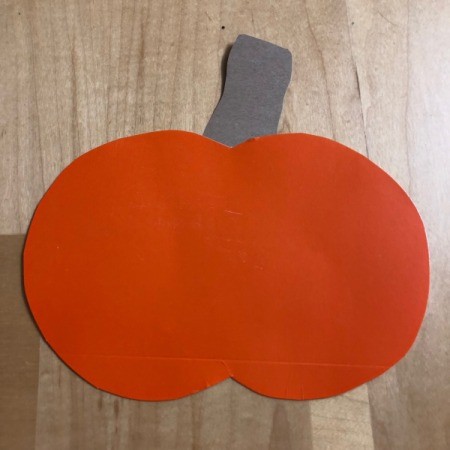
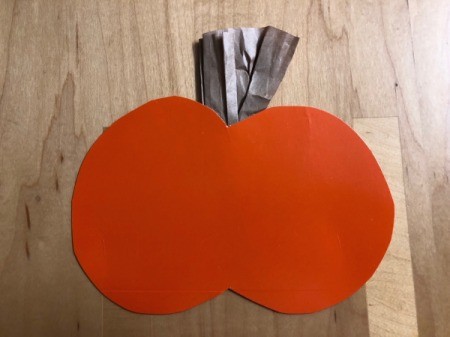
- Tape 2 CDs together, or gently hold in the center of 2 CDs and trace with a pen to resemble the shape of a pumpkin. Option: You can also trace on white paper and make a coloring page for your child to color, decorate with color pencils, crayons, paint, or stickers.
- Cut pumpkin out.

- For the pumpkin stump, one option is to use kraft paper and freehand the stump. Glue in place.
- Another option is to use a brown paper bag and crumble up a piece to resemble a stump. Glue in place.
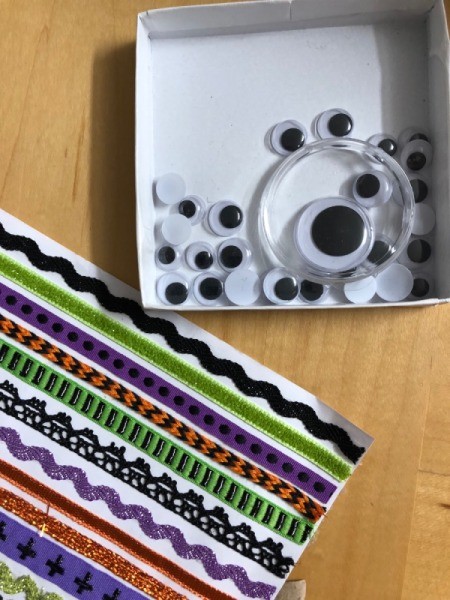
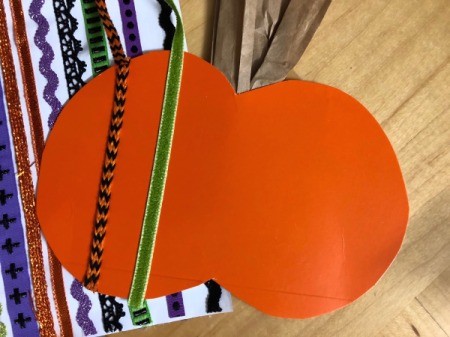
- Time to decorate with any items you want. I used goggly eyes and sticker ribbon. Then, displayed on the fridge.
Add your voice! Click below to comment. ThriftyFun is powered by your wisdom!