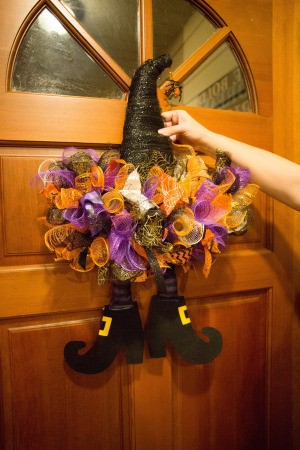
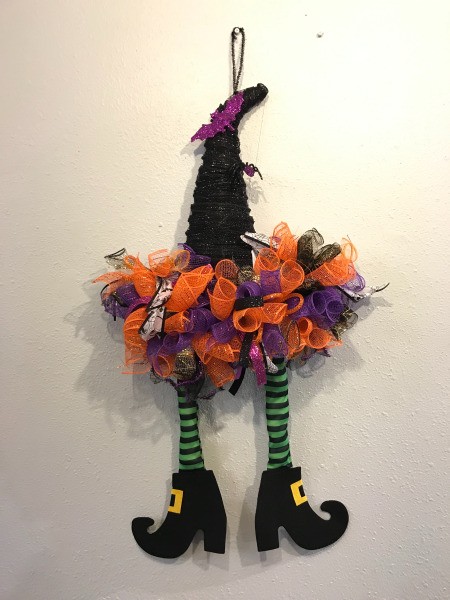
 Make this cute and easy witch with materials from the Dollar Store. This is a great project to do with a couple of friends to share supply costs.
Supplies:
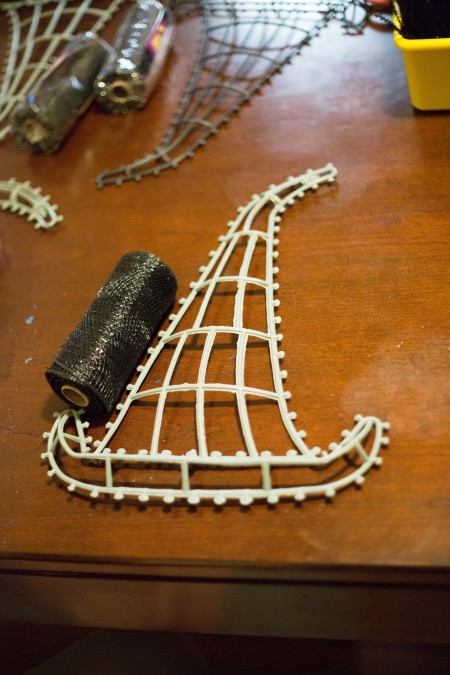
- 1 Witch hat frame*
- 2 black zip ties
- Assorted ribbon**
- Black pipe cleaners, cut in half
- Halloween themed accessories: (pumpkins, bats, pumpkins, etc.)
- 1 Witch leg decor
- Cotton balls for stuffing
*If you cant find the frame, you could make one out of wire.
**We used six different 6 inch decorative mesh ribbons, two 2 1/2 inch wire edge ribbons, two 5/8 inch ribbons for the brim and 1 roll of black mesh ribbon for the body.
Steps:
- Remove decor from witch hat frame.

- Attach black mesh ribbon to the top of the the frame using a black zip tie.
- Wind ribbon around frame to the base of the hat, leaving the brim area blank.
- Use another zip tie to attach the ribbon end to the base of the frame.

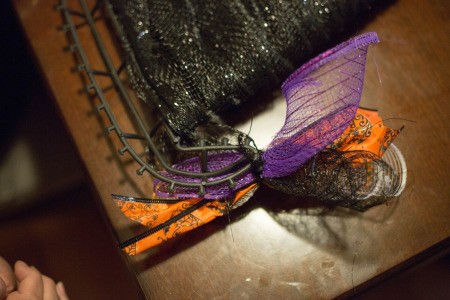
- Cut ribbons to 7 or so inches. Make rolls of 3 larger ribbons and one skinny ribbon. Wrap in the center with the pipe cleaner to make a pouf.
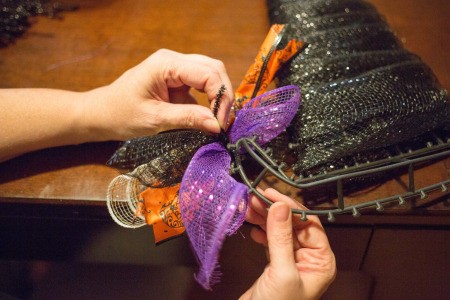
You will need 13 - 16 poufs to fill the brim. We used two purple or orange rolls and another decorative larger ribbon roll and a narrow ribbon in either black or purple. - Attach the pouf to the brim frame using the pipe cleaner ends.

- Continue making and attaching poufs until the brim is full.

- Stuff the witch legs with cotton balls and fold the top over a pipe cleaner. Hot glue or staple the fold and attach the legs to the lower back of the frame.
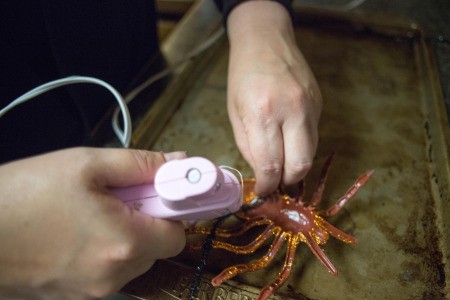
- Add any decorative elements by using hot glue or wire. A spider descending from the top of the hat is the perfect final touch.

Add your voice! Click below to comment. ThriftyFun is powered by your wisdom!
 Make this cute and easy witch with materials from the Dollar Store. This is a great project to do with a couple of friends to share supply costs.
