lalala...
Gold Post Medal for All Time! 899 Posts 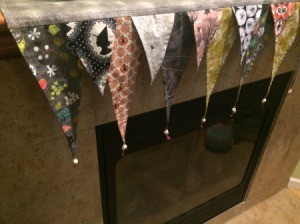 I love Halloween fabric and am always looking for crafts to make with it. This is the newest item I have made to dress up my fireplace mantel! I absolutely love it!
Supplies:
- cardboard (for templates)
- ruler
- pen
- scissors
- fabric (amt. depends on size)
- sewing machine
- thread
- pins
- skull beads, optional
- seed beads, optional
- embroidery floss
Steps:
- Create templates on thin cardboard (food boxes, etc.), in the sizes that you want. Mine are 5 in. x 12 in. and 4 in. x 6 in., finished size. Be sure to add a 1/4 in. seam allowance all the way around.
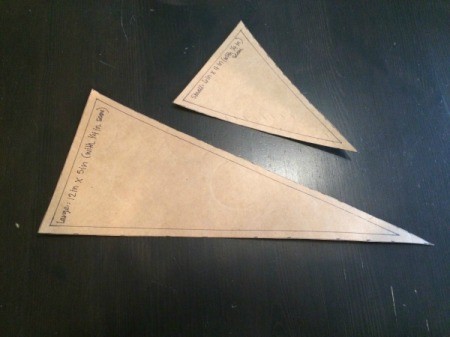
- Select the fabrics that you want to use for each size of pennant. Note: The length of my runner needed to be 45 inches. So I decided that I would make 9 large pennants and I wanted to place one smaller pennant between each larger one, so I needed 8 small pennants.
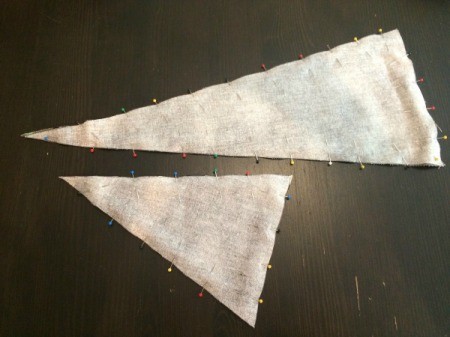
- Trace and cut out the pennants. Also select a backing fabric for the pennants and trace the same number of each size from that fabric. Then pin the pennant pieces, right sides together.

- Sew the pennants together, down the two long sides. Remove the pins and tie off the threads.
- Snip off the point of the pennants and trim away the seam allowance near the point. This will make it easier to turn the pennant and maintain its point.
- Turn the pennants right side out, using a dull instrument to get the point out. Finger press them along the seams.
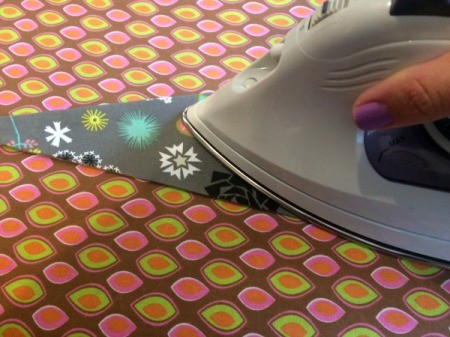
- Use an iron to press the pennant seams.

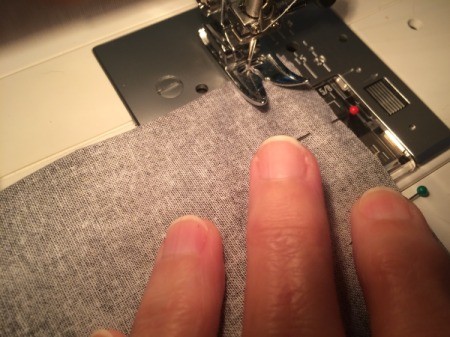
- Top stitch each pennant, about 1/4 in. away from the edge.
- Here are my finished pennants.
- Cut out a piece of fabric for the runner. I chose to use the same fabric as I used for the pennant backing. My runner needed to be 45 in. x 10 in. with 1/4 in. seams. Once you have cut out the runner piece, begin pinning the large pennants in place, with the points facing inward. Be sure to start pinning, 1/4 in. from the edge to allow for the side seam. See photos below.
- Next pin the smaller pennants in place, on top of the large ones, as shown below.
- Fold the points of the larger pennants up and pin in place, to avoid accidentally sewing them into the seam. Then fold the other side of the runner over the pennants and pin in place, by removing the pins that are already in place and repinning.
- Sew up the short side of the runner, then across the long edge (where the pennants are pinned), and finally part way down the other short side. Be sure to leave an opening for turning the runner right side out.

- First snip off the corners, as shown below. Then turn the runner right side out.
- Pin and sew the opening shut, then use an iron to press the seams.
- Top stitch around the edge of the runner, a 1/4 in. from the edge.

- If you want to have beads at the ends of the pennants, select them and lay out what you need for each one. I used 1 skull and 3 seed beads.
- Using a needle and embroidery floss, string the beads in the order you chose. Then pull the floss through the point of the pennant and back down through all of the beads, so that both ends of the floss are at the bottom of the beads. See photos below.
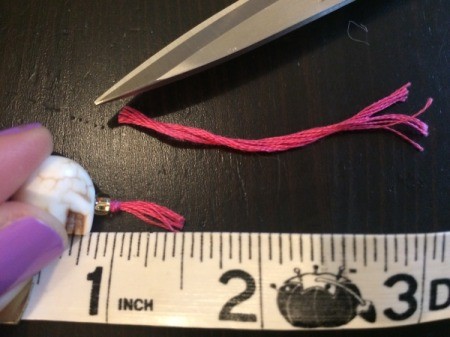
- Tie a knot in the floss, just below the beads. Then cut off the excess floss. I chose to leave 1/2 in.

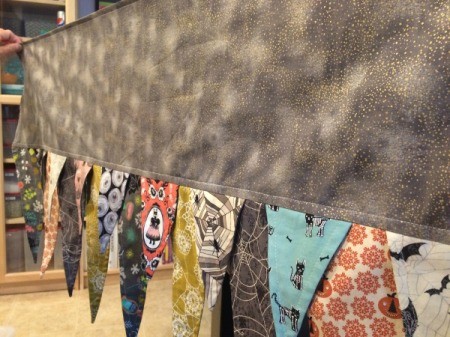
- Put the runner in place and enjoy! Note: You may need to place items on it, to hold it in place.
Add your voice! Click below to comment. ThriftyFun is powered by your wisdom!

October 4, 20170 found this helpful
Thank you so much for the easy to follow instructions! I just finished mine and I'm thrilled!

Stella
Silver Post Medal for All Time! 254 Posts September 26, 20180 found this helpful
I would love to see how yours turned out!
Add your voice! Click below to comment. ThriftyFun is powered by your wisdom!

 I love Halloween fabric and am always looking for crafts to make with it. This is the newest item I have made to dress up my fireplace mantel! I absolutely love it!
