Stella
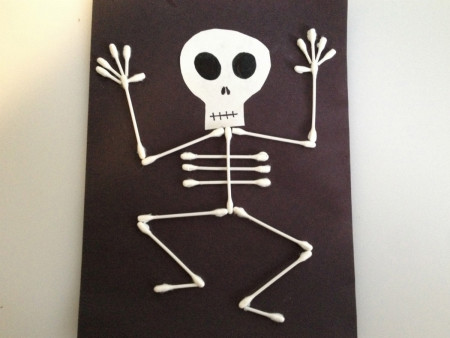
Silver Post Medal for All Time! 254 Posts  This is a super easy Halloween craft that would be fun to do with kids. Have fun making skeletons in different positions.
Total Time: 15 - 30 minutes
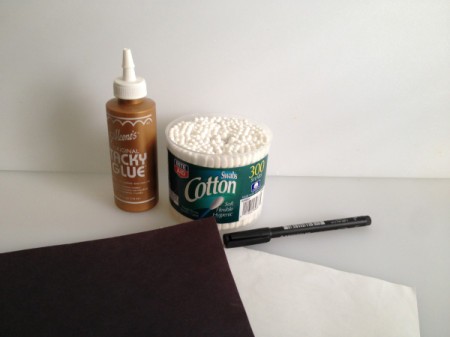
Supplies:
- white paper
- black paper
- cotton swabs
- glue
- scissors
- black marker
Steps:
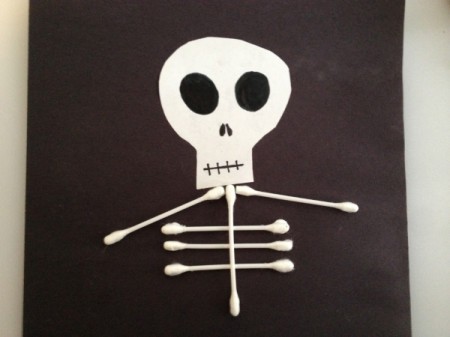
- Draw a skeleton face on a piece of white paper with a black marker. Cut out.
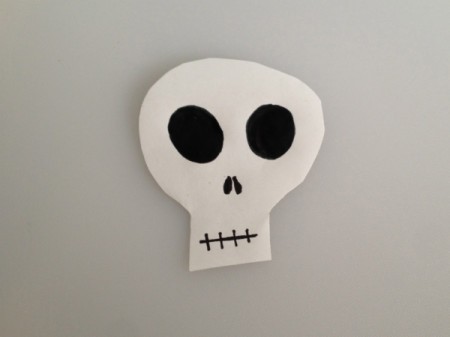
- Glue skeleton head to the top third of a piece of black paper.
- Use 3 Q-tips to make the ribs of the skeleton. Apply glue to each end of the cotton swab and adhere the ribs 1 inch below the skull. Place a dot of glue on the middle of each rib and glue down the spine of the skeleton.
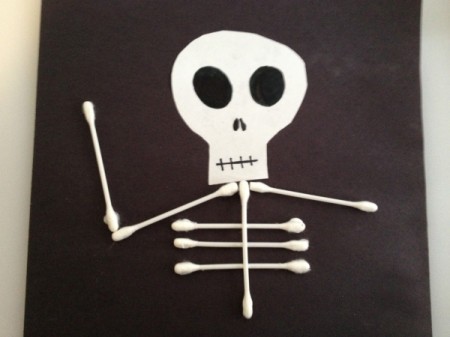
- Glue the arms down just under the skull.

- Glue the lower part of the arm connecting it to the upper arm.

- Cut the tips off the cotton swabs in different lengths to make fingers. Glue the fingers in place.
- Glue the legs down connecting them to the bottom of the spine. Cut a cotton swab in half to make the feet. Attach the feet to the lower leg.

Add your voice! Click below to comment. ThriftyFun is powered by your wisdom!

 This is a super easy Halloween craft that would be fun to do with kids. Have fun making skeletons in different positions.

