social

How to Make Mini Sock Pumpkins


Diamond Post Medal for All Time! 1,246 Posts
October 8, 2017

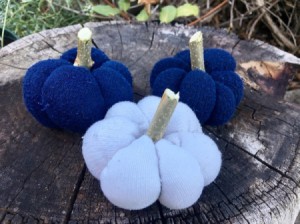
Mini Sock Pumpkins - blue and white sock pumpkinsI hate it when I lose a sock in the laundry. I usually end up using the lonely one for cleaning or for crafts. Here is one of my crafts for the fall using old socks and branches from trees. Happy fall to you all!

Advertisement

Total Time: 1 hour

Yield: 3 to 4 pumpkins

Supplies:
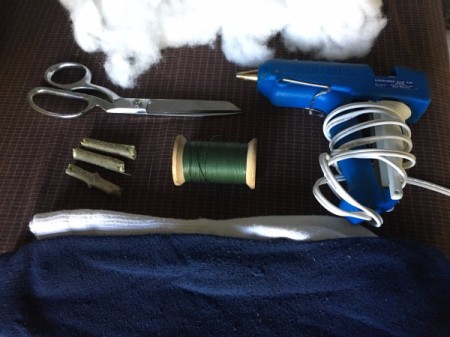
  • socks
  • scissors
  • needle and thread
  • craft stuffing
  • cuttings from branches
  • glue gun (optional)
Mini Sock Pumpkins - supplies
 

Steps:

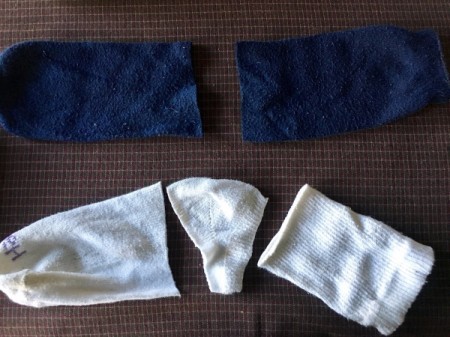
  1. Cut your socks in half. If it has a heel curve in it, cut that bit out (you won't need it).
  2. Mini Sock Pumpkins - cut sock in half and remove curved heel if there is one
     
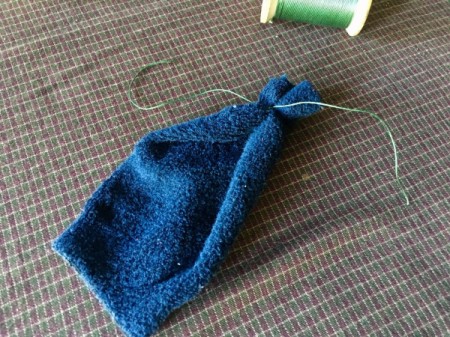
  3. For the top half of the sock with two openings, turn it inside out and tie the top with thread, and turn it back right side out.
  4. Mini Sock Pumpkins - for the top half of the sock with the two openings, turn sock inside out and tie one end closed then turn right side out
     
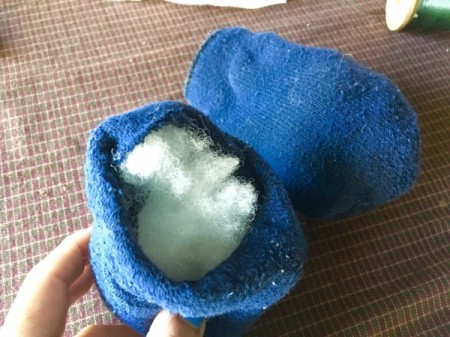
  5. Stuff all the sock halves with the craft stuffing.
  6. Mini Sock Pumpkins - stuff the halves with stuffing
     
    Advertisement

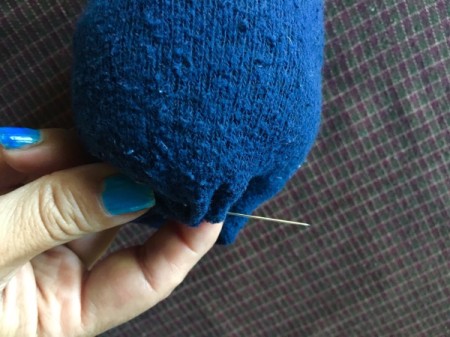
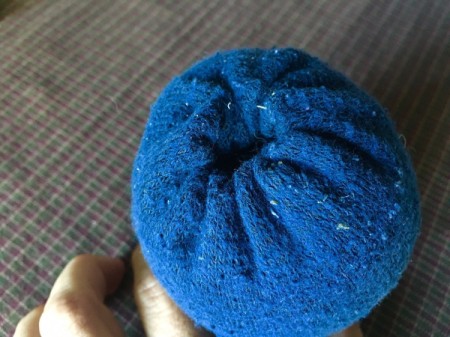
  7. Thread your needle with a rather long piece of string and start loosely sewing up the open end of the sock.
  8. Mini Sock Pumpkins - using a needle with a long thread loosely sew up the opening
     
  9. Go all the way around, making sure there's enough space to put the branch through the top later on.
  10. Mini Sock Pumpkins - stitch all of the way around leaving a bit of an opening for the branch
     
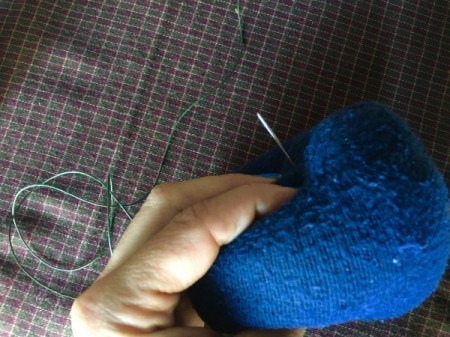
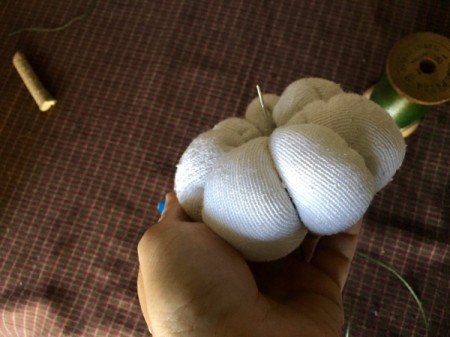
  11. Poke the needle through the center of the pumpkin and come out the other side.
  12. Mini Sock Pumpkins - poke needle through the center and out the other side
     
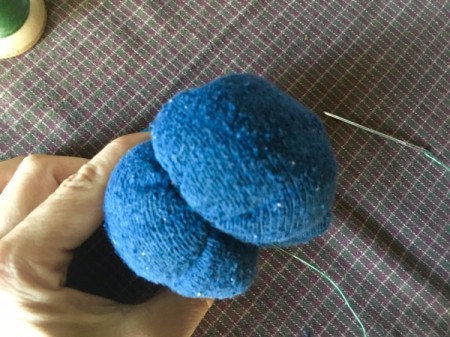
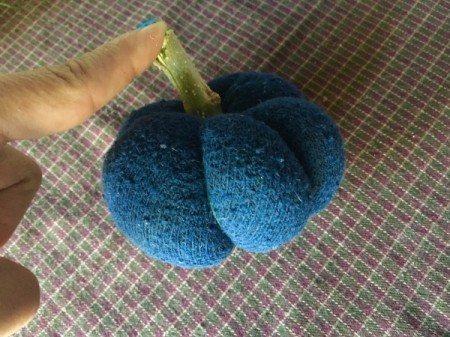
  13. Wrap the thread around pumpkin to create a very deep ridge. Stick the needle through the middle again to make more ridges.
  14. Mini Sock Pumpkins - wrap thread around the sock to make a deep ridge
     
    Advertisement

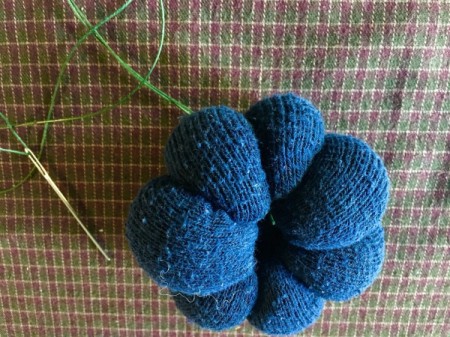
  15. Keep going around until you have 5 to 7 segments.
  16. Mini Sock Pumpkins - go through the center again and continue making ridges
     
  17. Now take the piece of branch and stick it in the top hole. Mine just stayed in by itself, but you can use a glue gun to make sure it stays.
  18. Mini Sock Pumpkins - stick the piece of branch in the center for the stem, glue if needed
     
  19. Repeat the process with the rest of your sock halves.
  20. Mini Sock Pumpkins - repeat with the rest of your sock halves
     
Comment Pin it! Was this helpful? 8

Comments

Read More Comments
Categories
Crafts DecorationsSeptember 25, 2019
Pages
More
🎃
Halloween Ideas!
Instagram
Contests!
Newsletters
Ask a Question
Share a Post
Sub-Categories
AdviceBooksCandyCostumesCraftsDecorationsGamesGhost StoriesHaunted HouseHistoryJokesLinksMake UpMiscellaneousPartiesPartiesPhotosPumpkin CarvingRecipesSafetyTipsTreats
Published by ThriftyFun.
Desktop Page | View Mobile
Disclaimer | Privacy Policy | Contact Us
Generated 2022-10-12 13:46:25 in 3 secs. ⛅️️
© 1997-2022 by Cumuli, Inc. All Rights Reserved.
https://www.myfrugalhalloween.com/How-to-Make-Mini-Sock-Pumpkins.html