lalala...
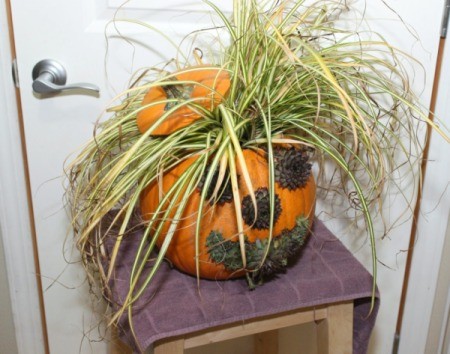
Gold Post Medal for All Time! 899 Posts 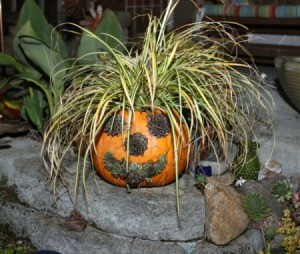 This jack-o-lantern planter is a fun variation on an old tradition!
Supplies:
- 1 large pumpkin
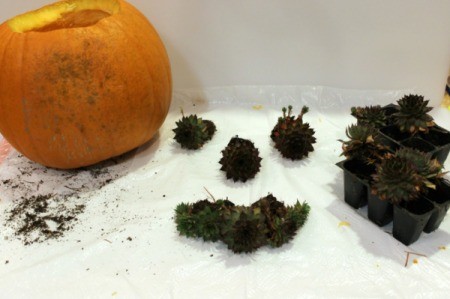
- asst. succulents (hen and chicks)
- decorative grass
- potting soil
- pumpkin carving tools
Steps:
- Clean off the pumpkin and select a side to carve.
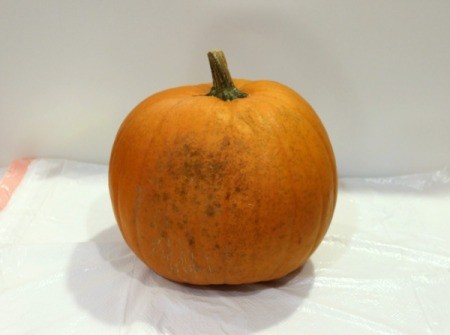
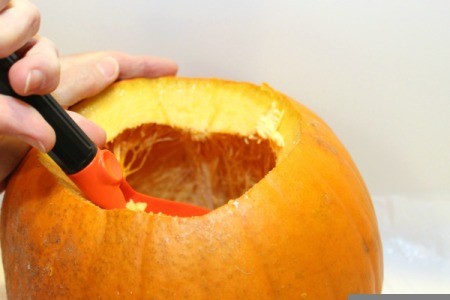
- Using a pumpkin knife, cut a lid into the top. Remove the lid. Using a scrapper, remove any guts from the lid.
- Now scrape out the inside, removing the guts and seeds.

- Arrange the plants that you are going to use for the face. This will help you determine how big the openings will need to be for each part.

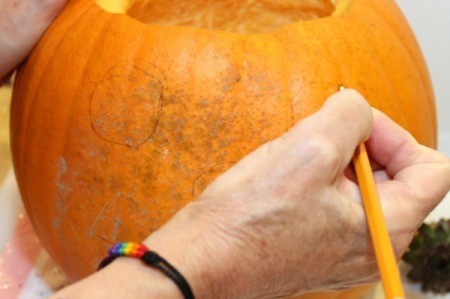
- Use a pencil to draw a face onto the pumpkin. I recommend using circles for the eyes and nose to best fit the plants.

- Cut out the face. Test fit the plants as you go, removing additional pumpkin to make them fit snugly in the openings.
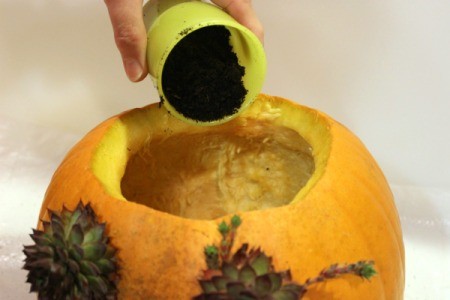
- Once the face is finished, start putting the plants in. NOTE: For the mouth, I recommend putting the smaller plants into the corners first. Then fit in the larger plants at the center.
- Begin filling the pumpkin with soil, making sure to leave room for the grass.

- Put the grass into the pumpkin. Then add more soil around it if necessary, packing it into any voids with your fingers.
- Enjoy your finished jack--o-lantern planter inside or outside. If you want, you can use the lid as a hat! :)

Add your voice! Click below to comment. ThriftyFun is powered by your wisdom!

November 1, 20210 found this helpful
What do you do when the pumpkin starts to rot? Can you put the whole thing in a pot/planter? Thanks!
Add your voice! Click below to comment. ThriftyFun is powered by your wisdom!

 This jack-o-lantern planter is a fun variation on an old tradition!
