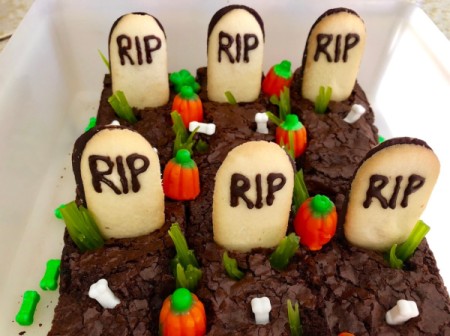
 These spooky brownies are a scream for Halloween time! They are so easy to put together. You can get real creative with the details. Once you bake and cool the brownies, this could be a great edible craft for the little ones.
I used two standard 19 oz. boxes of brownie mix to make 12 large graves. Each grave served 2. I got all the Halloween candy details at the dollar shop.
Total Time: 2 hours 30 minutes (including bake, cool, and decorating time)
Yield: 24 servings
Ingredients:
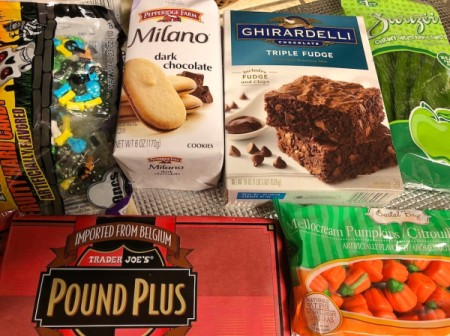
- 2 boxes brownie mix, made to box instructions
- 12 Pepperidge Farm Milano cookies
- dark chocolate square blocks
- green twisted candy straws
- candy bones
- candy pumpkins
- piping bag or plastic bag
- scissors
- wooden skewer
Steps:
- Preheat oven to box instruction temperature. Make brownie mix as directed on box. I mixed in a tablespoon of dark coffee and a teaspoon of vanilla to mine.
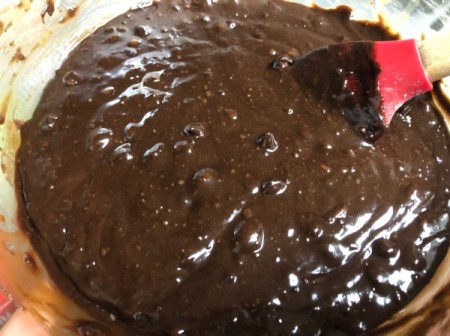
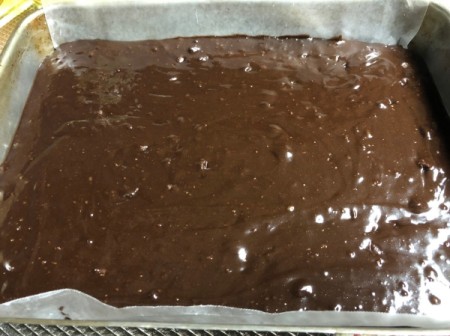
- Pour batter into lined and greased 9x13 inch (or similar) rectangle baking pan. Bake to box instruction times. Since I used 2 boxes, I had to bake mine longer and keep doing toothpick tests until done.

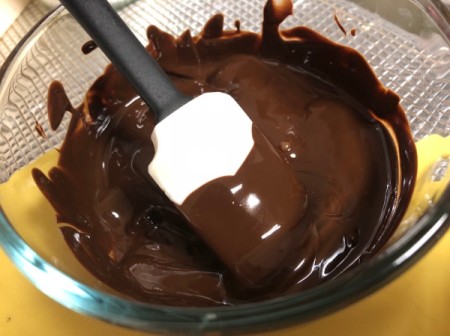
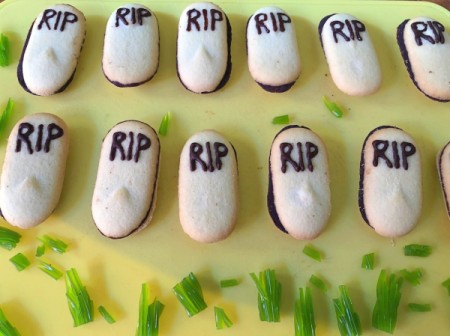
- While brownies are baking, start on the grave details. Melt a few big blocks of chocolate in a microwave safe dish and zap in 30 second increments, stirring each time until smooth.
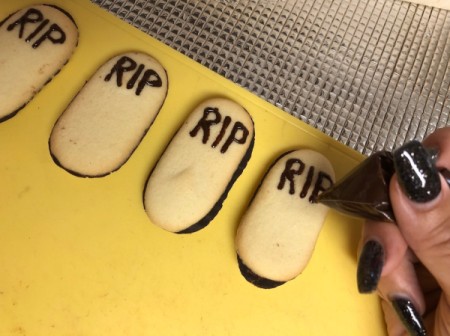
- Let the chocolate cool a bit, then scoop into a piping bag. Cut a tiny section off the tip, then pip "RIP" onto the top portion of each cookie.
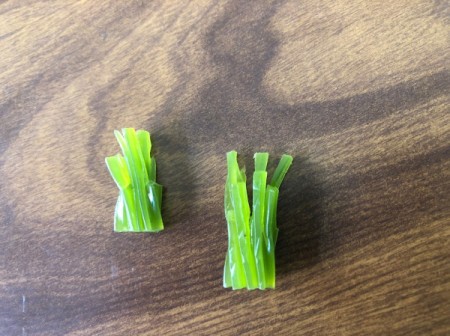
- Cut the green candy straws into small rectangles, then cut down into them vertically so they resemble grass. Cut each strand to different lengths.
- Keep going until you have all your details ready to go. The chocolate lettering will have to dry fully before handling.
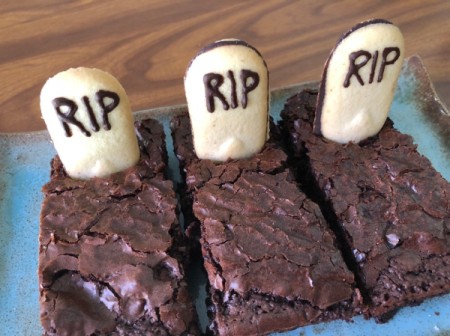
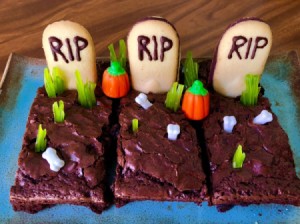
- When the letters on the cookies are no longer glossy and the brownies have cooled, cut the brownies into rectangles. Press a cookie into the top portion of each brownie.
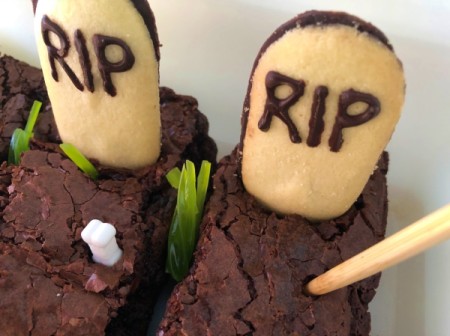
- Use your wooden skewer to make little holes for the bones and grass to easily drop into so you don't bust up the brownies.
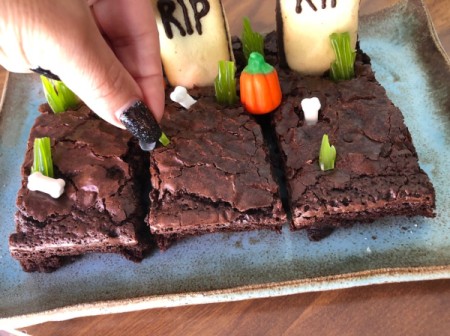
- Decorate all around with the grass, bones, and pumpkins.
- I took half of these to a friend's house, so I decorated those ones inside the carrier box for ease. Making holes and dropping the candy in was really handy for this. :)