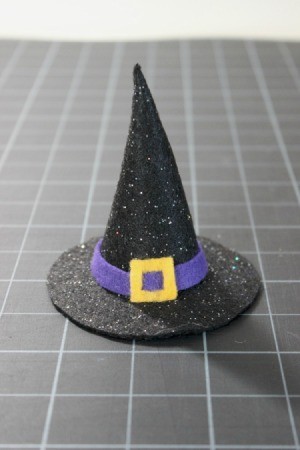
 These tiny witch hats are easy to make and can be used in numerous ways. I made mine to use as a tree topper for a mini Halloween tree. :)
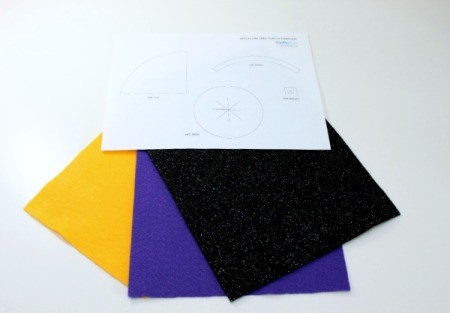
Supplies:
- black felt (I used glitter felt)
- purple felt
- gold felt
- needle and thread
- scissors
- hot glue gun
- tape

Download the witch hat template.
Steps:
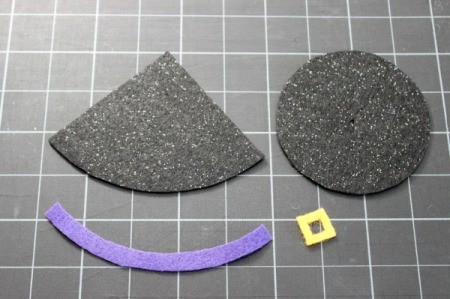
- Use rolled pieces of tape to hold the template to the felt. Cut out template pieces.
- Using a craft knife cut along the cut lines on the "hat brim". Also cut out the center of the hat buckle.
- Remove the template pieces and set aside.

- Thread the needle, knotting the end. Starting at the bottom two corners of the "hat top", whip stitch the hat together, coming up from the inside, over the seam, and back down. Working from the bottom to the point. Once you reach the point, knot the thread and cut off excess.
- Put glue on the flaps you cut in the "hat brim". Set the "hat top" onto the center of the "hat brim" and gently fold the flaps up inside the hat to secure the brim to the top.
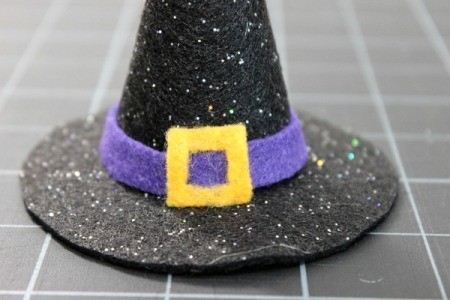
- Glue the end of the "hat band" to the hat, just above the brim. Apply glue and wrap the band around the hat. Glue down the other end.
- Apply glue to the back of the "hat buckle" and attach it to the "hat band".

- Here is mine on top of my mini Halloween tree. Be creative when looking for ways to use these adorable little hats!
 These tiny witch hats are easy to make and can be used in numerous ways. I made mine to use as a tree topper for a mini Halloween tree. :)

