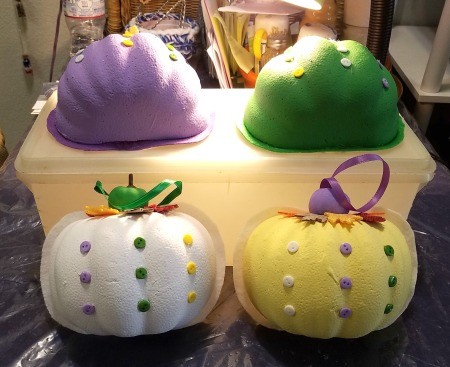
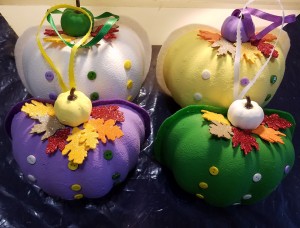
 I have done some non-traditional colors this year. I was inspired by those on Pinterest and here, so I gave it a shot. Hope you like them!
Total Time: 5 hours
Yield: 4
Source: Seen on several sights. This one inspried me the most.
Link: Everyday Celebrating
Supplies:
- 2 foam pumpkins
- 1 French Knife
- 4 colors of paint
- 4 brushes
- scissors
- hot glue gun
- 4 mini pumpkins
- 20-24 table scatter/leaves
- 4 felt sheets
- 4 ft ribbon
Steps:
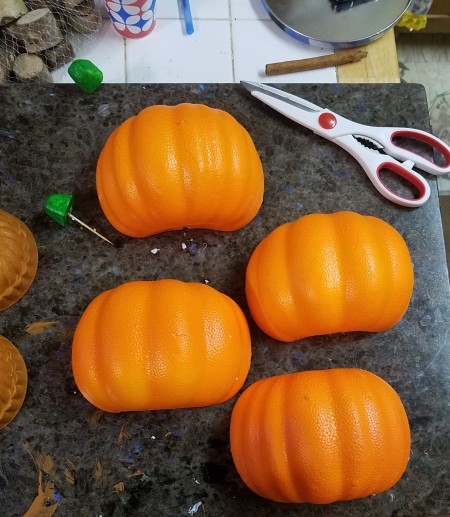
- Remove the stem and find the seam of the pumpkin. Carefully cut each in half with a large knife or an X-acto knife.
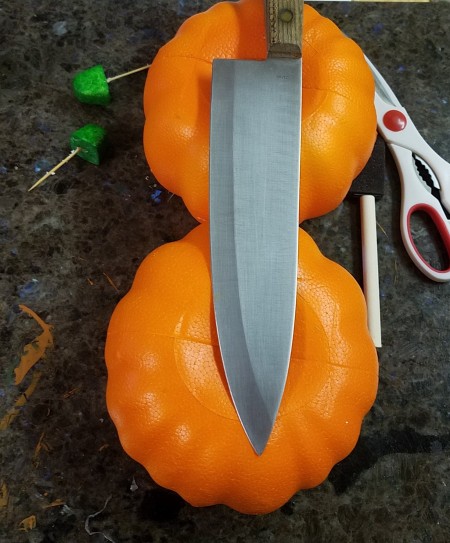
- Trim off any edges that didn't trim well. Choose your paint colors. I chose white, purple, green, and yellow.

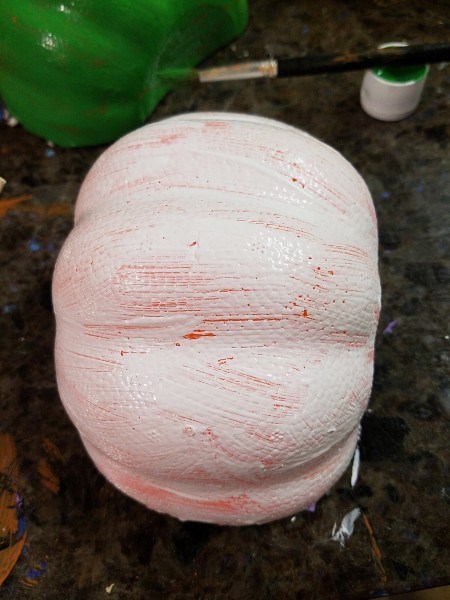
- So do you know the difference between good paint and bad paint? 6 coats. Yes, the other colors were 2, but the white, as it was a different brand, took 8 coats. It was not fun. So I got them all done and was finally ready to embellish.

- I had these cute little buttons and decided to put the other three colors of button on each one. So, at first I just pinned them on, thinking that would work. My goal was to make all the pumpkins so I could take them apart and use them again. But that didn't work. They kept falling off so I didn't worry about that idea and went ahead and glued everything.

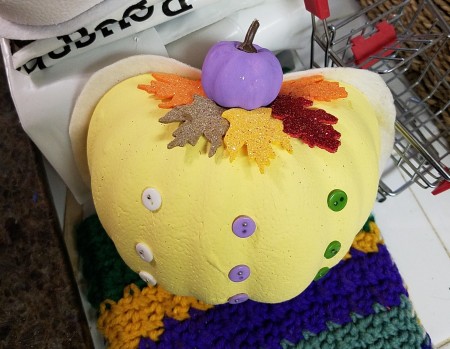
- So this is a close up of the buttons, and the scatter. I painted the little wire based foam pumpkin the same four colors, then speared each one to the top of each pumpkin, matching them to the center color of the buttons.

- I had glued the foam to the backs of each one and trimmed around the edges about 1/3". Then glued some ribbon to the back and they are ready to hang. N-JOY!!
Add your voice! Click below to comment. ThriftyFun is powered by your wisdom!

R Barbara
Bronze Post Medal for All Time! 190 Posts October 1, 20200 found this helpful
I love them!! Thanks for sharing.

October 1, 20200 found this helpful
Thanks! More to come!!
Add your voice! Click below to comment. ThriftyFun is powered by your wisdom!

 I have done some non-traditional colors this year. I was inspired by those on Pinterest and here, so I gave it a shot. Hope you like them!


