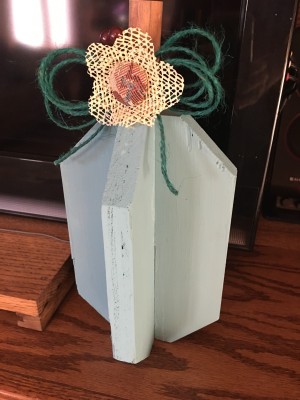
 This is a cute wooden, take apart pumpkin that can be used to decorate for Halloween or during the autumn months.
Supplies:
- wood
- scroll saw
- dowels
- paint
- paint brush
- screws
- stain
- fabric
- buttons
- scissors
- hot glue gun
- ribbon, twine, or raffia
- mitre saw

Steps:
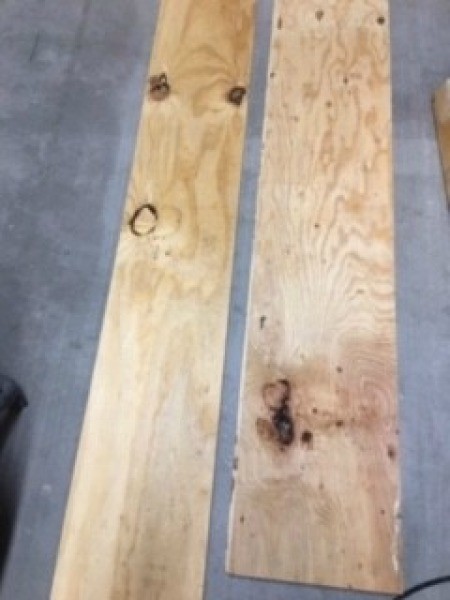
- Using a pattern, draw the shape onto your wood and with a mitre saw, cut out two shapes from the wood.
- Use a scroll saw to cut out the "insert" portion of each of the pieces of wood. One side of the pumpkin fits into the other side where the two cut out "inserts" come together. See last picture below.
- Paint them your desired color and let dry. Cut a piece of dowel for the stem, about 2 to 3" in length. Stain. Let dry. Drill hole on top of pumpkin. Drill hole on one side/end of the dowel. Using a screw, screw the dowel onto the top of the pumpkin.
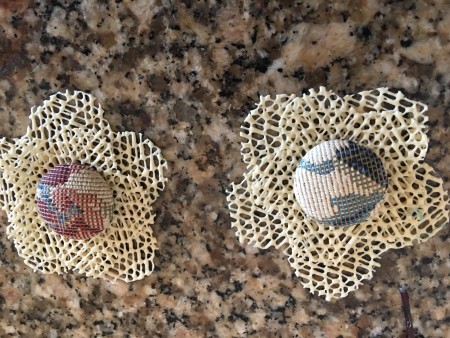
- Cut out flowers out using a flower shape (I downloaded a template daisy shape) from fabric or burlap, etc. ( I used a scrap of leftover shelf liner.) I cut a large daisy shape and a smaller one. Make a bow using several strands of green twine or raffia, etc.
- Using a hot glue gun, glue the button to the center of the flowers, then glue the bow to the dowel and then add the flowers to the top of the bow, gluing in place.This pumpkin can be taken apart for flat storage when not in use as a decoration.

Add your voice! Click below to comment. ThriftyFun is powered by your wisdom!

 This is a cute wooden, take apart pumpkin that can be used to decorate for Halloween or during the autumn months.
