15mhhm15
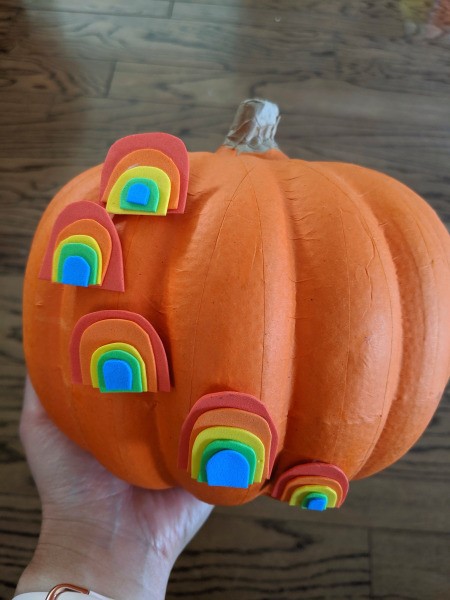
Diamond Post Medal for All Time! 1,298 Posts 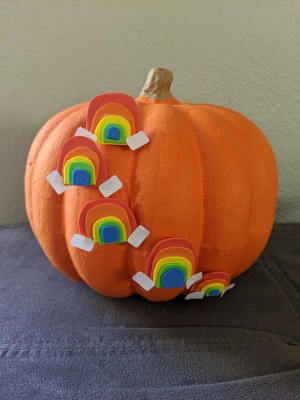 I save my kids' art scraps because the scraps can be salvaged and used in new projects. I was able to achieve this rainbow pumpkin - made with foam and sticker scraps. I liked how this pumpkin turned out and will be placing this in my daughter's room.
Total Time: 35 minutes
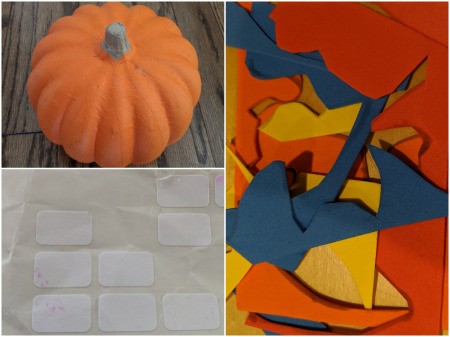
Supplies:
- faux pumpkin
- assorted color foam paper
- white sticker (or foam/paper)
- scissors
- glue/tape
Steps:
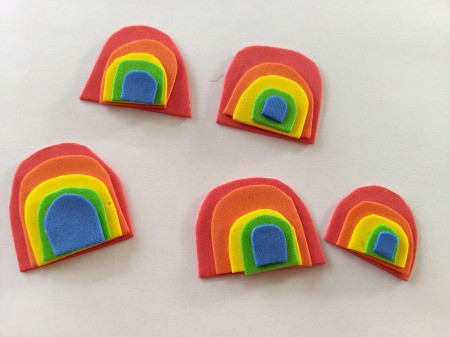
- Figure out what colors you would like your rainbow to be. The colors I used were: red, orange, yellow, green, and blue. Cut each color into a half circle shape. As you change colors, cut smaller than the previous color. I did this 5x for each color.
- Stack and glue together all the pieces.
- Hot glue rainbows in the order you would like on the pumpkin. Or if you plan on using this pumpkin for future use you could use tape.

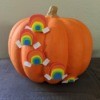
- To resemble clouds, I attached white sticker on each side of the rainbow. If you don't have whites stickers, you can cut out cloud shape with white foam paper or white cardstock paper.
Add your voice! Click below to comment. ThriftyFun is powered by your wisdom!