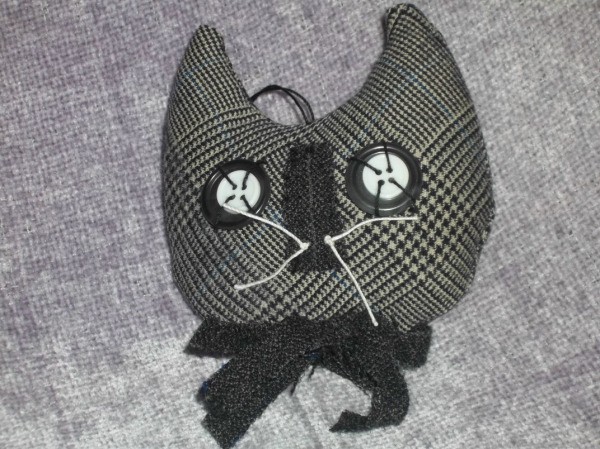
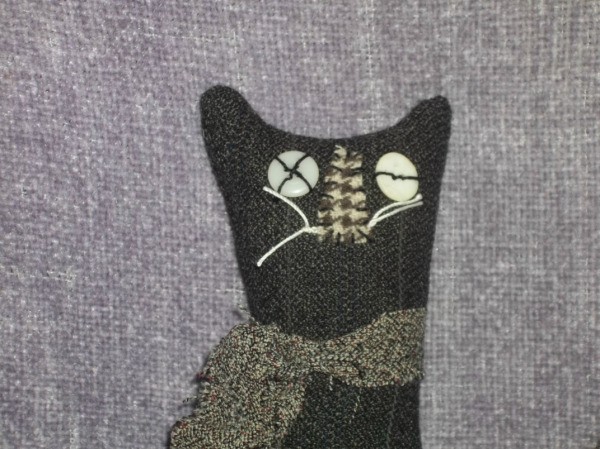
I purchased a large barrel of men's wool suits at an auction for a dollar. Since I make a lot of crafts to sell, I scored a real bargain. They are truly vintage. I even found a receipt in one of the pockets from the fifties. Many of them are black or gray, so I figured they would make great primitive Halloween decorations. For this project I designed primitive Halloween cats.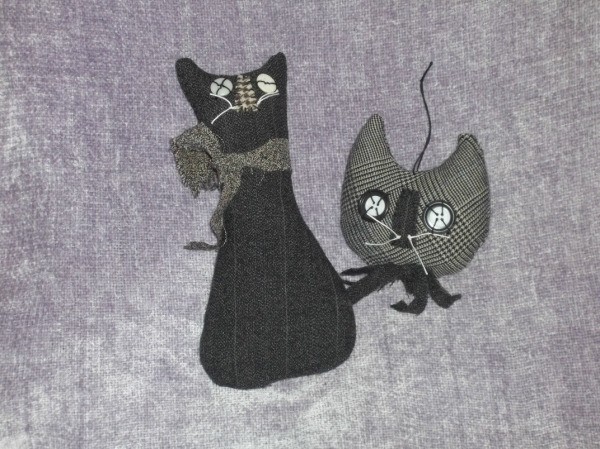
Approximate Time: one hour
Supplies:
- black and gray wool clothing
- scissors
- cat shapes
- ruler
- lightweight cardboard
- pencil
- Sharpie markers-silver and black
- straight pins
- sewing machine
- stuffing
- sewing needle and thread
- black crochet thread
- embroidery needle
- buttons
- off-white crochet thread
Instructions:
- If your wool is recycled clothing like mine, wash it in hot water and dry it in a clothes dryer. Since I wasn't going to be wearing the clothes, I wasn't concerned about shrinkage. I just prefer to work with clean fabric.
- Cut the clothing apart at the seams so that you have flat pieces to work with. You could use a seam ripper, but that can be time consuming and fiddly.
- Choose your cat shapes. I drew a whole cat shape and a cat head freehand, but you could also use Halloween cookie cutters, designs on fabric, decorations, and clip art. My whole cat is 4 inches at its widest and 8 inches tall from the top of the ears to the bottom. The cat head is approximately 4 inches in diameter. Enlarge or reduce your chosen shapes and trace them on lightweight cardboard. Cut out the shapes.
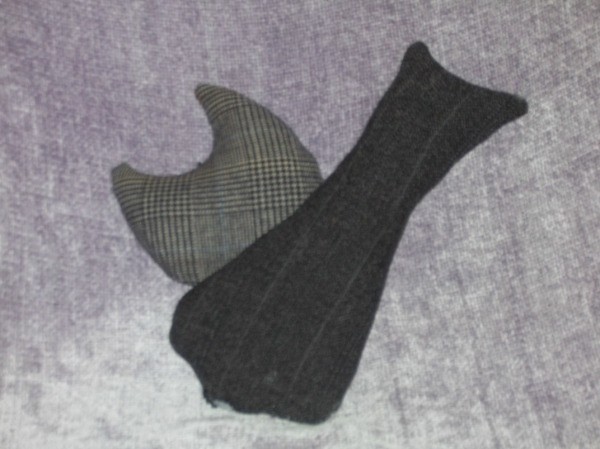
- Place two pieces of wool together with the right sides facing each other. Lay your patterns on the fabric and trace around them. I used a silver Sharpie marker so that I could see the lines on the black wool and a black Sharpie on the gray wool. Pin the inside of the shapes together and cut out.
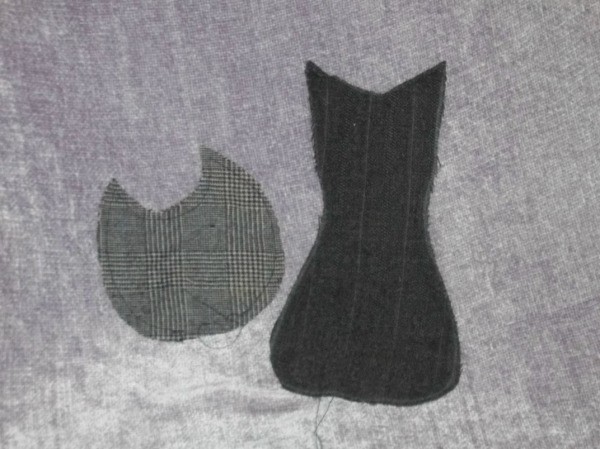
- Sew around the shapes using a 1/4-inch seam allowance. Leave a 2-inch opening along the bottom edges for turning.
- Clip slits in the seams of all curves. Turn the cats right side out. Stuff the cats firmly. Hand-sew the openings closed.
- Using another dark color or patterned wool fabric, cut a rectangle approximately a 1/2 inch wide by 1 1/2 inches long for the nose. Pin the rectangle vertically to the center of the face. Whip stitch around the edge of the nose using black crochet thread.
- Dig through your button box for your cat's eyes. Position them on the face where desired and stitch in place. Thread off-white crochet thread on your embroidery needle. Pull the ends even so that the thread is doubled. Stitch through the bottom portion of the nose. Pull 3 inches of the doubled thread to one side of the stitch. Cut the thread 3 inches from the other side of the stitch. Separate the threads on one side of the stitch. Tie the ends into a knot against the stitch. Repeat on the other side of the stitch. Trim the ends to 1 inch long. These are the whiskers. You could also use black crochet thread if desired.


- Cut a 1-inch wide by 12-inch long strip of wool. Tie the strip around the neck of the whole cat. Cut a 1/2-inch wide by 16-inch strip of wool. Tie the strip into a bow. Cut open the loops of the bow. It will resemble a tassel. Stitch the tassel to the bottom of the stuffed cat head.
- Using black crochet thread, stitch a hanging loop to the top of the cat head. Tie the ends of the thread into a knot to complete the loop.
By cyndee kromminga from Winfield, KS


