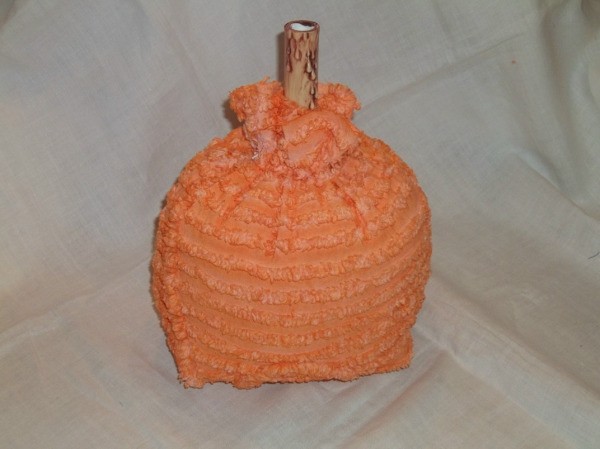
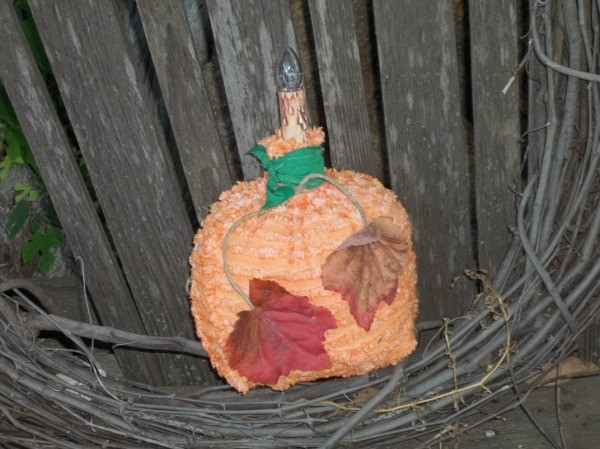
Make a pumpkin light decoration for fall using a chenille bedspread and an electric Christmas candle light. This lamp will brighten any fall vignette in your home, or stitch on a face for a whimsical Halloween decoration.
I was out of the usual dye I use to dye fabric, and in my small town the orange color I was needing was not available locally. Instead of waiting for my online purchase to arrive, I decided to give Koolaid a try. The results were okay, but not as vibrant as I intended. Nevertheless, it worked in a pinch.
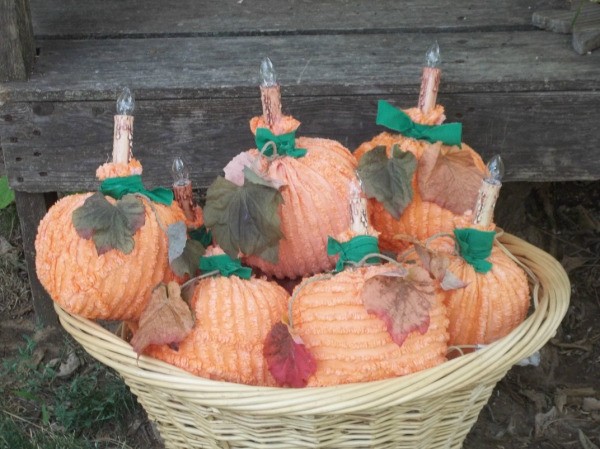
Approximate Time: 3 to 4 hours
Supplies:
- white chenille bedspread
- ruler
- scissors
- unsweetened Koolaid-two orange and one strawberry
- measuring cup, bowl, and spoon
- vinegar
- water
- microwave
- straight pins, sewing needle, and crochet thread
- sewing machine
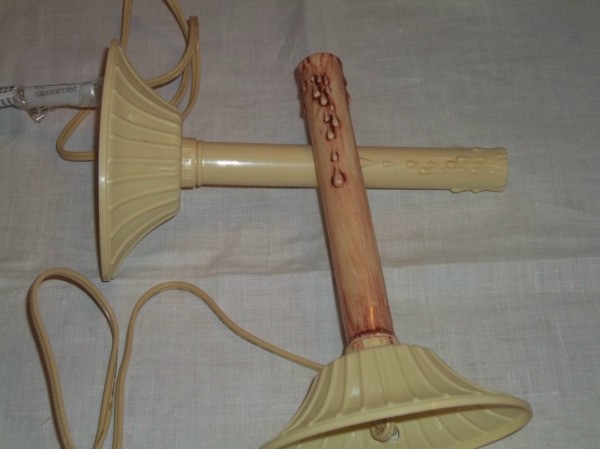
- electric Christmas candlestick light
- brown acrylic paint and paintbrush
- paper towel
- kitty litter
- resealable sandwich baggie
- stuffing
- green fabric scrap
- jute
- silk fall leaves
- hot glue gun
Instructions:
- Since I didn't know if I would like the end result of the dye job, I only cut two 10-inch squares from a white bedspread to start with. Working with smaller pieces also made the steps of the dye job easier to handle.
- Mix two packets of unsweetened orange Koolaid, one packet of unsweetened strawberry Koolaid and one cup of vinegar with 2 quarts of water. Wet and wring out the chenille. Place the chenille squares in the dye bowl and heat in the microwave on high for 10 minutes. Allow the squares to soak for 20 minutes longer.
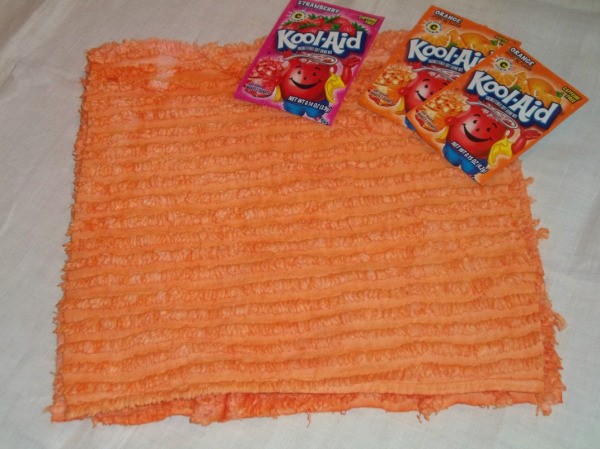
- While wearing rubber gloves, wring out the squares. Do not rinse the squares. This will lighten the color considerably. Hang the squares on a clothesline to dry.
Note: I am not sure this technique would work well for fabrics that will be washed. Detergents are designed to remove stains.
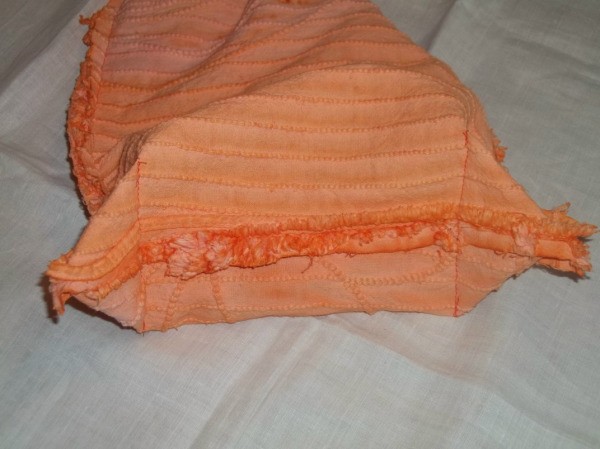
- Place the two squares together with the right sides facing. Pin three edges of the squares. Sew the pinned edges using a 1/2-inch seam allowance. You now have a bag.
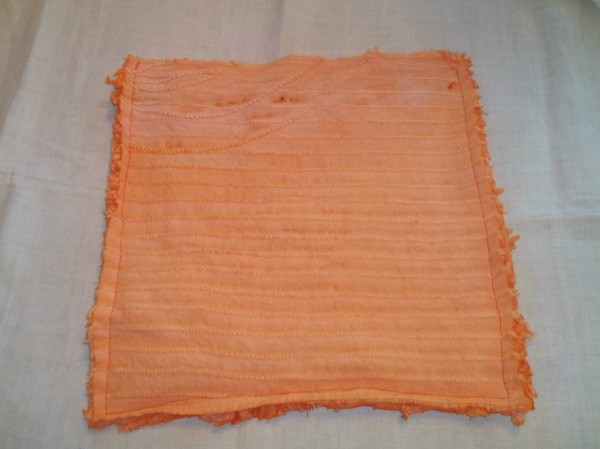
- Sew boxed corners. This is done by opening the bag and matching the side seams with the bottom seam. Measure 2 inches in from each bottom corner and pin. Sew across the seam at the pinned mark. Cut off the excess on the corners 1/4 inch from the seam line. Turn the bag right side out.

- Paint the candlestick of an electric Christmas candle light using brown acrylic paint. While the paint is still wet, wipe off the paint using a paper towel. This technique will stain the stick and settle darker into the crevices around the molded fake wax drips. I painted the entire length of the candlestick, but only the top half will show in the finished project.

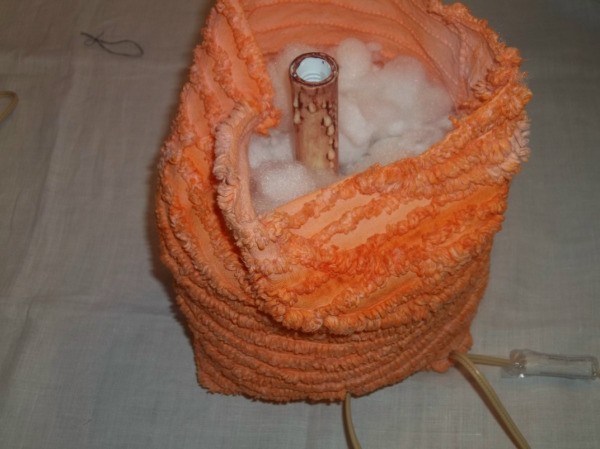
- Pour a cup of kitty litter in a resealable sandwich baggie. Place the baggie in the bottom of the pumpkin bag. This will help your light stand up. Set your electric candle light on top of the baggie. Cut a slit in one side of the pumpkin and thread the plug and cord through it. Fill the bag with stuffing to within 2 inches of the top edge.

- Hand-sew a running stitch around the opening of the bag, 2 inches from the top edge. I used crochet thread. Pull the thread to gather the opening closed around the candlestick. Knot and cut the thread.
- Rip a 1-inch wide by 36-inch long strip of green fabric. Leaving a 2-inch tail, wrap the strip around the 2-inch gathered top of the pumpkin. When you have 2 inches left on the strip, bring the two ends together and tie into a knot. This is the pumpkin stem.

- Cut an 18-inch length of jute. Wrap the jute around the pumpkin stem and tie in a knot on the front of the pumpkin. The jute will simulate a vine. Hot glue silk fall leaves to the ends of the jute vine to finish.

By cyndee kromminga from Winfield, KS


